
Product Design
3D Printed Jigs and Fixtures for Lapidary Work
Mar
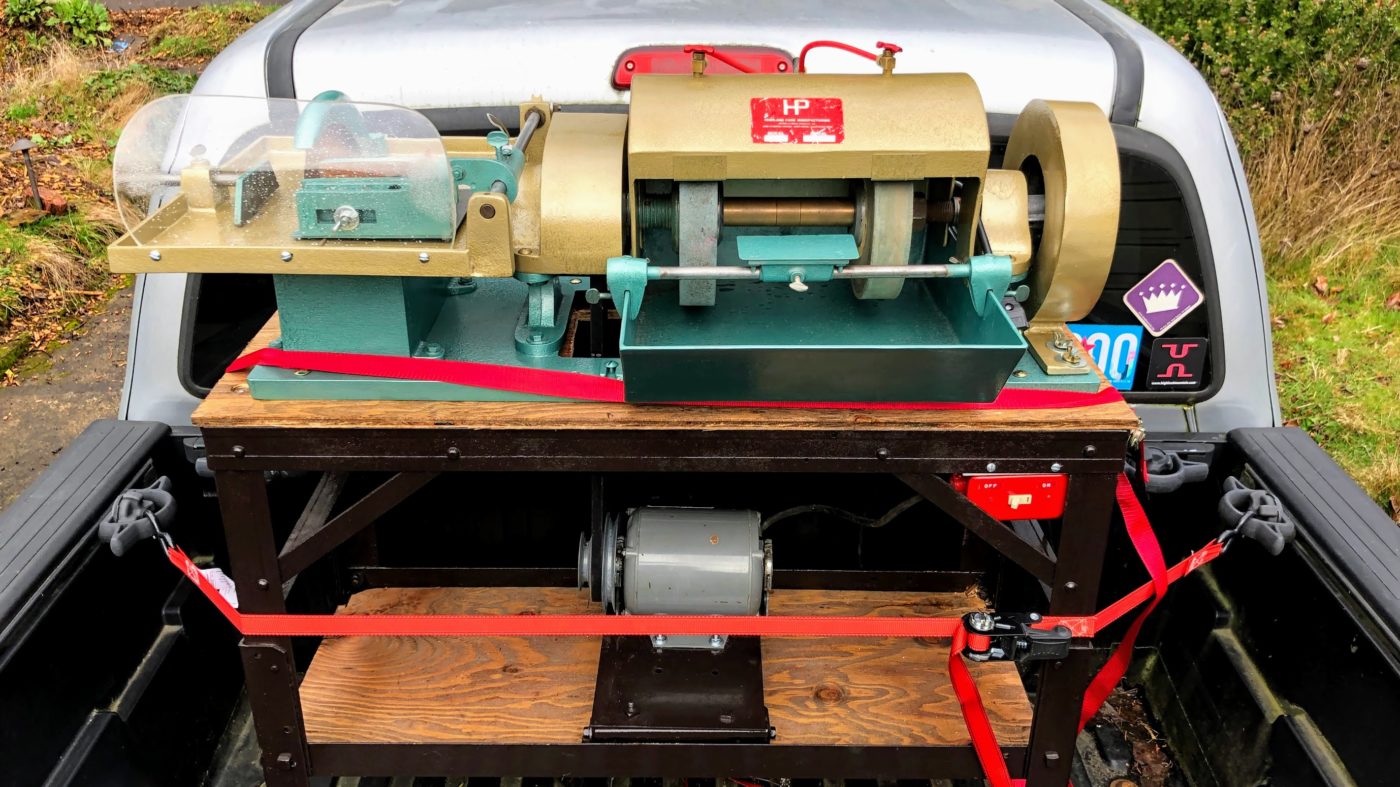
If you make a thing, 3D printing can help you make it better. 3D printed jigs and fixtures are low-hanging fruit for additive manufacturing. Let’s highlight some 3D printing applications in the most unlikely of industries — lapidary! Lapidary work is the practice of shaping stone (especially semi-precious stone) into pretty pieces. It usually involves cutting with a diamond saw, grinding away stone, and polishing. Lapidary processes and equipment are generally very low-tech. I recently purchased an old Highland Park lapidary saw and combo unit. It has a 9″ diamond saw, two 8″ diamond wheels, and a flat lap on the end.
How can 3D printed jigs and fixtures support lapidary work? I’ll update this post with both ideas for using 3D printing as well as what I’ve made so far.
Cabochon Stencils
- Design Time: 30 minutes
- Print Time: 2 hours
- Material: PLA
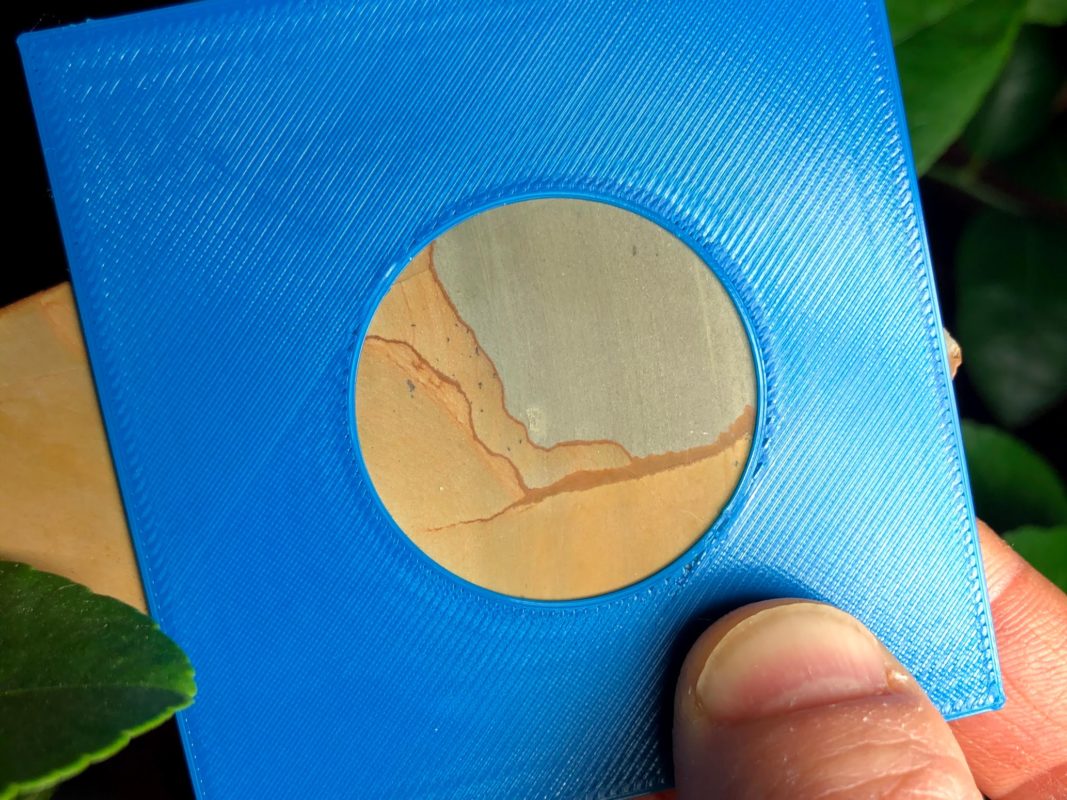
A cabochon is a gemstone that has been shaped, rounded, and polished. It is not faceted, but smoothly contoured, usually in a dome shape. Cabs (short) can be all sorts of different shapes. Cab stencils can be purchased, with standard sizes, shapes, etc, but many lapidary artists make their own stencils. I chose to do just that, but on my computer in Fusion 360. Are these jigs or fixtures? Shoot, maybe not.
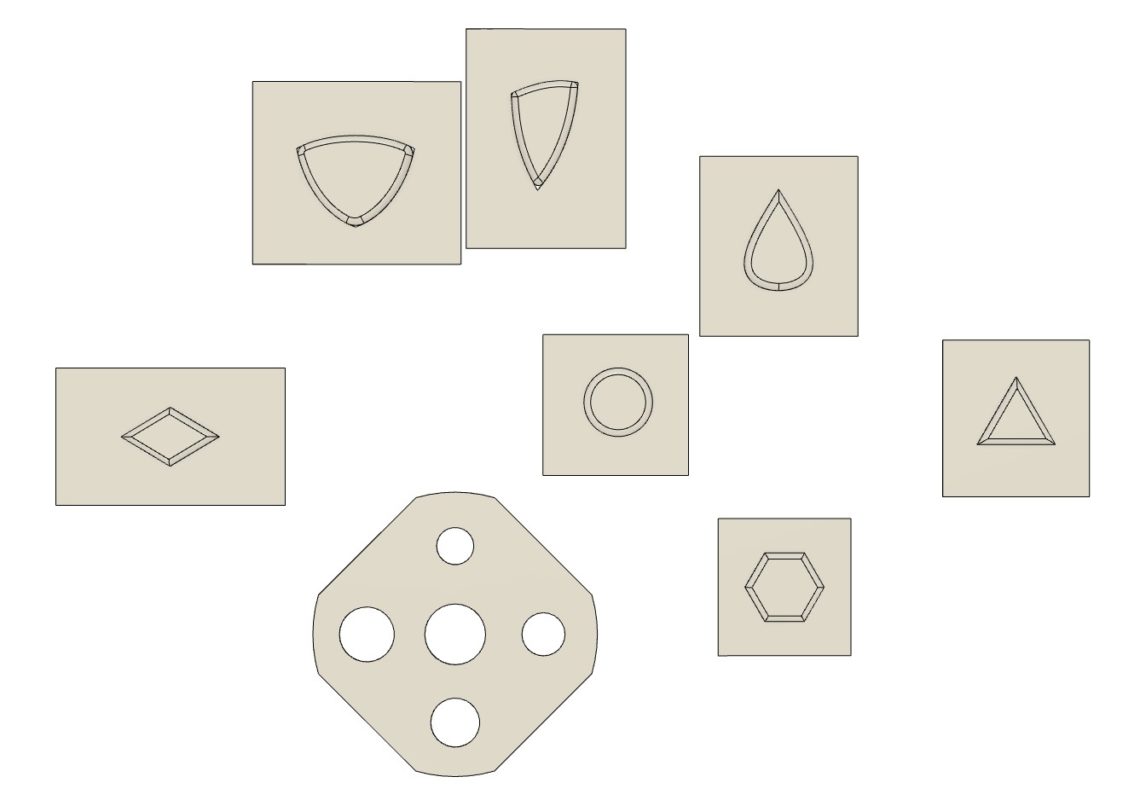
I modeled both the stencils as well as an approximation of the final cabochon in about 30 minutes. The parts don’t have any particular material requirements, so they’re printed in PLA for speed and cost.

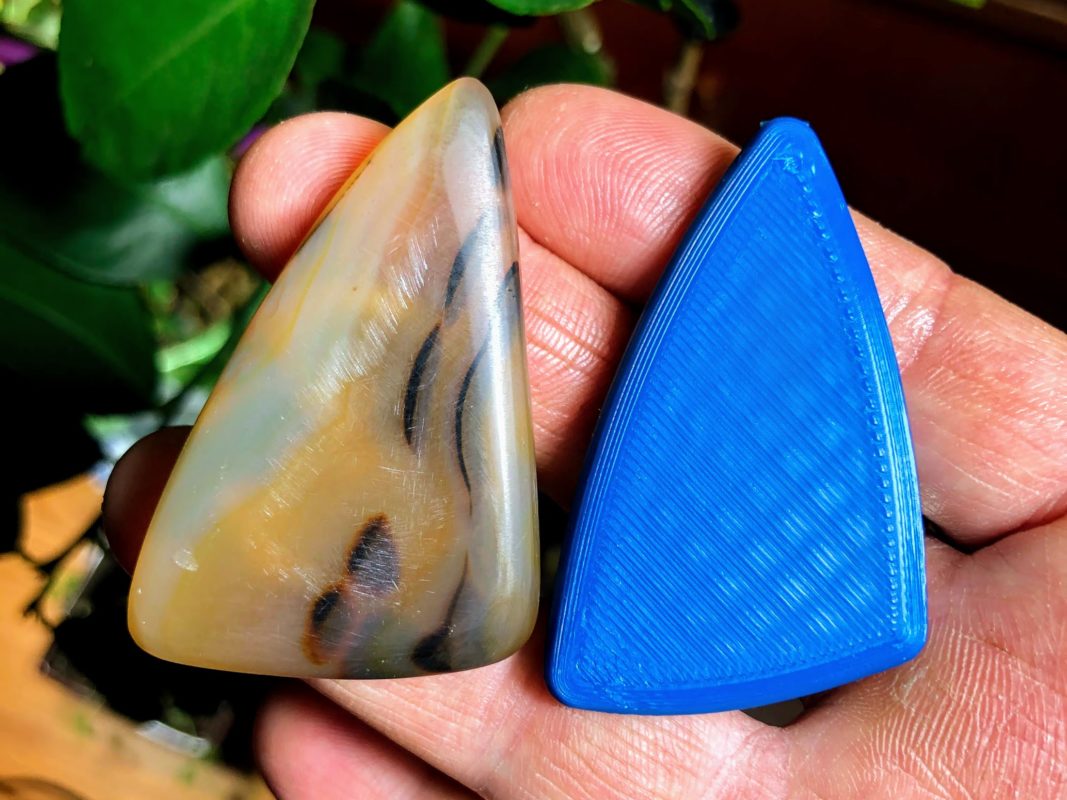
With the positives I quickly gauged the feel of the different cab shapes, and I got to work using the stencils to frame different sections of stone slabs.
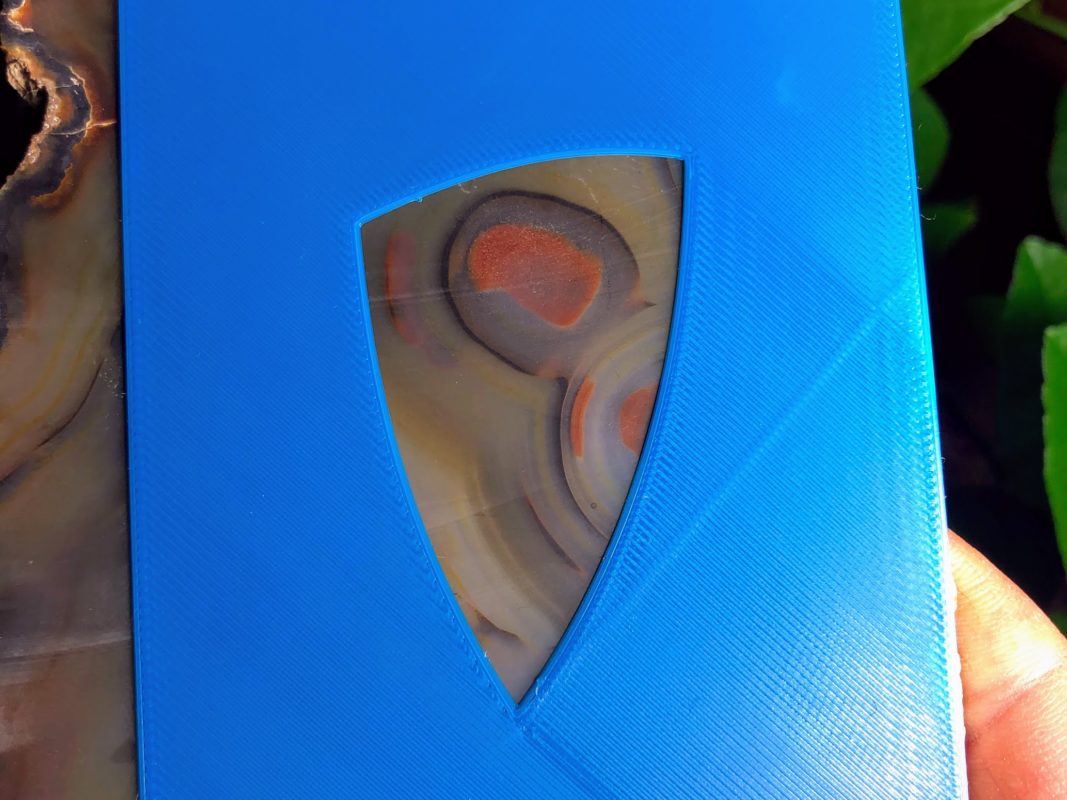
I marked the stone with a regular sharpie, cut the slabs on the saw, and ground the rough shape of the cabs on the rough grinding wheel. Here’s my first cab mid-process.
I used computer design and a 3D printer to make my stencils because those are my go-to tools. It’s also pretty easy to cut shapes out of old playing cards with an exacto! My work, though, can be shared at the click of a button and reproduced anywhere in the world. Like the cab shapes? Contact me and I’ll send you the files.
Dop Sticks
- Design Time: 10 minutes x 3 iterations
- Print Time: 1 hour for 6 sticks, plus 30 minutes to anneal
- Material: HTPLA-CF
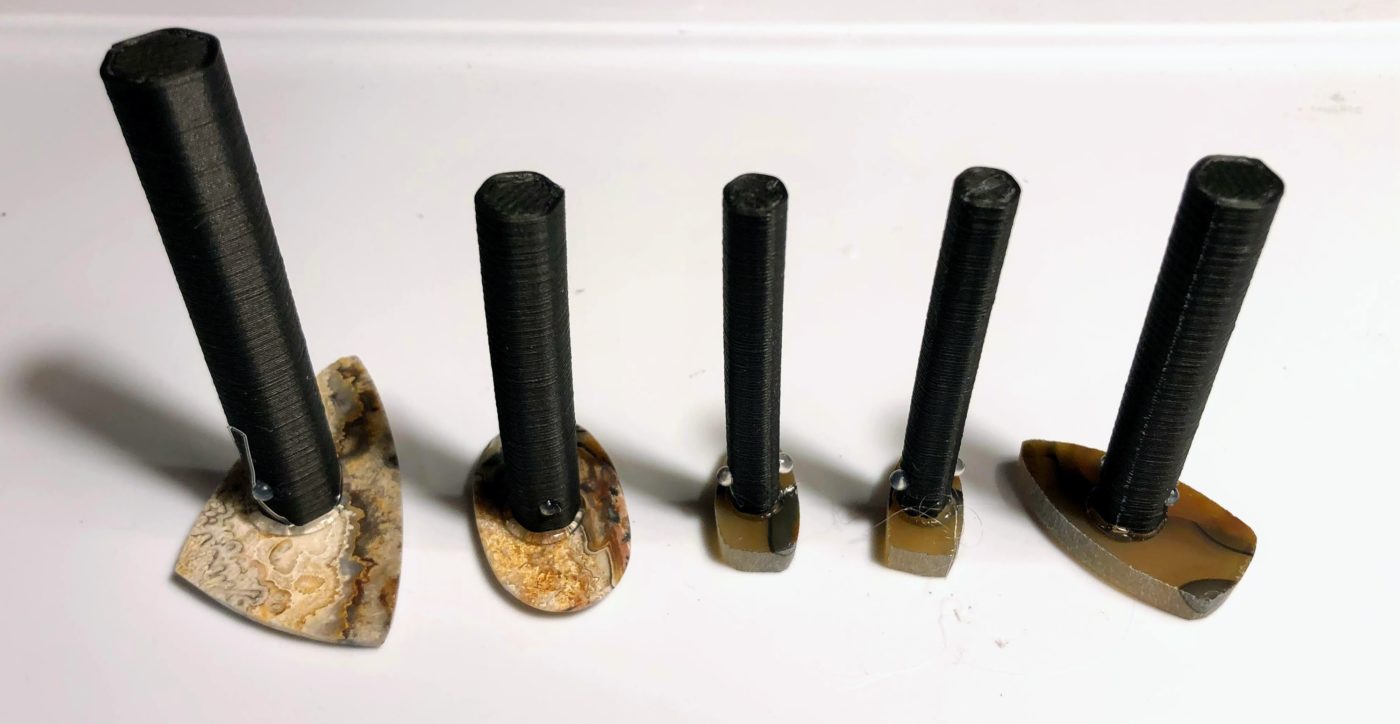
Dopping sticks are typically wooden dowels. The ends of these dowels are then coated with dopping wax, which is use to adhere a stone to the dop so that the stone may be easily held during shaping or faceting. What’s wrong with using a wooden dowel? Nothing! But I can come up with a better solution.
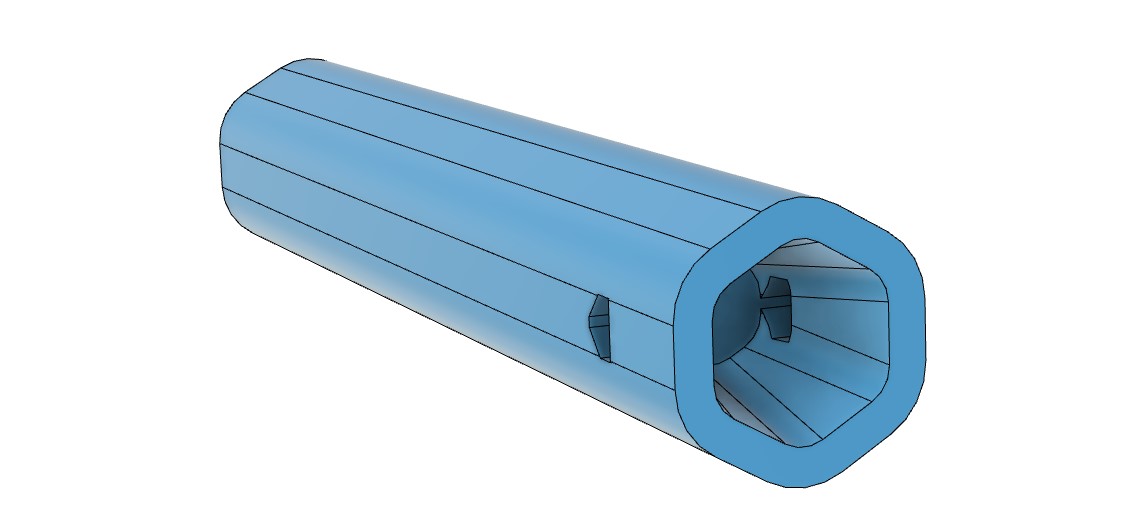
This 3D printed dopping stick has a glue well with mechanical interlock. First, fill the end of the stick with hot glue. Then, press the stone on to the glue. The glue will come out of the vent holes, which will mechanically lock the glue to the end of the stick. Once cool, pull off the dopping stick and hot glue, then use E6000 to reapply and get a better bond to the stone.
With this method there is no heating the stone, and the dop can easily conform to a domed surface. Annealed HTPLA-CF is used to ensure that the dop stick holds shape during hot glue application, and the carbon fiber in the HTPLA improves adhesion.
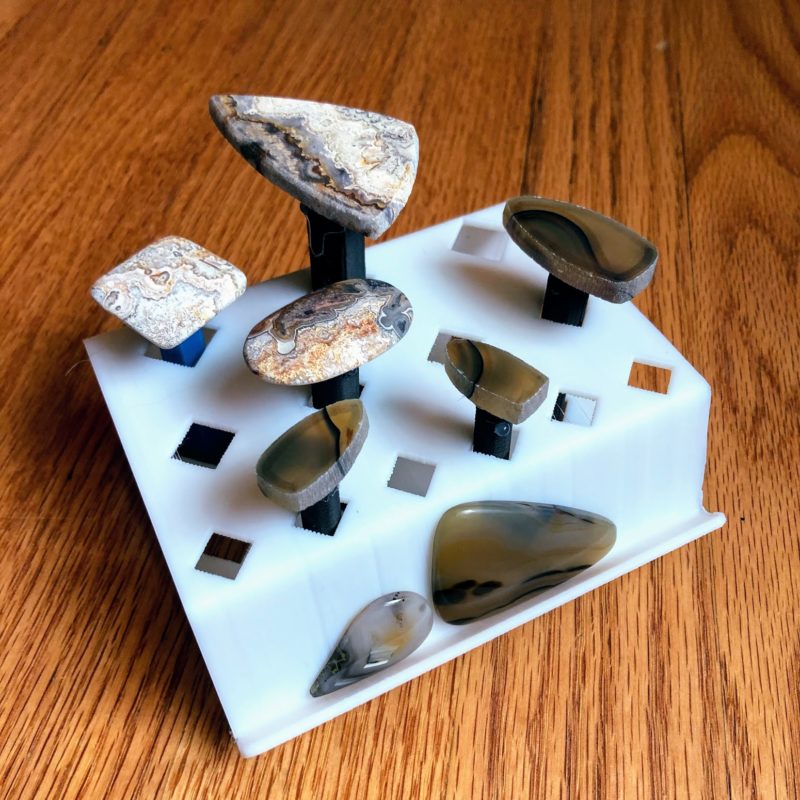
Dop Nest and Workholding
- Design Time: 30 minutes
- Print Time: 2 hours
- Material: PLA, plus a few adhesive PU bumpers for feet
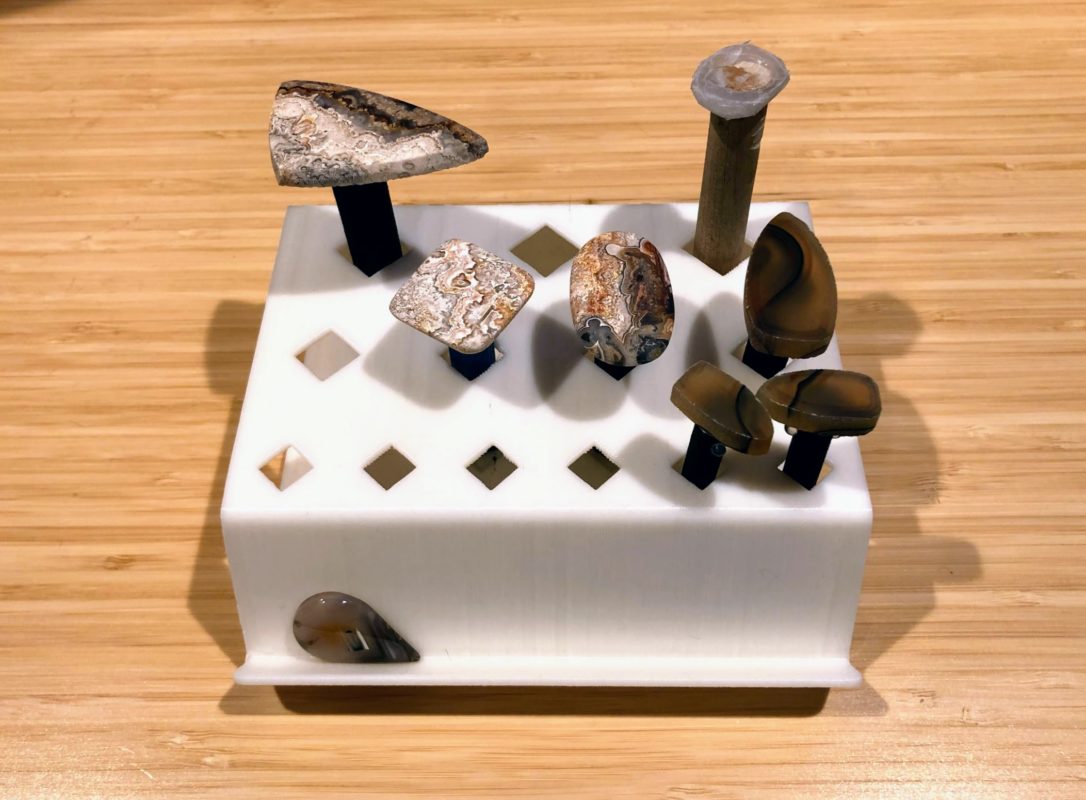
After losing one dopped cab only to find that it fell and chipped on my cement floor, I learned early on that it is important to have somewhere to put your cabs in progress!
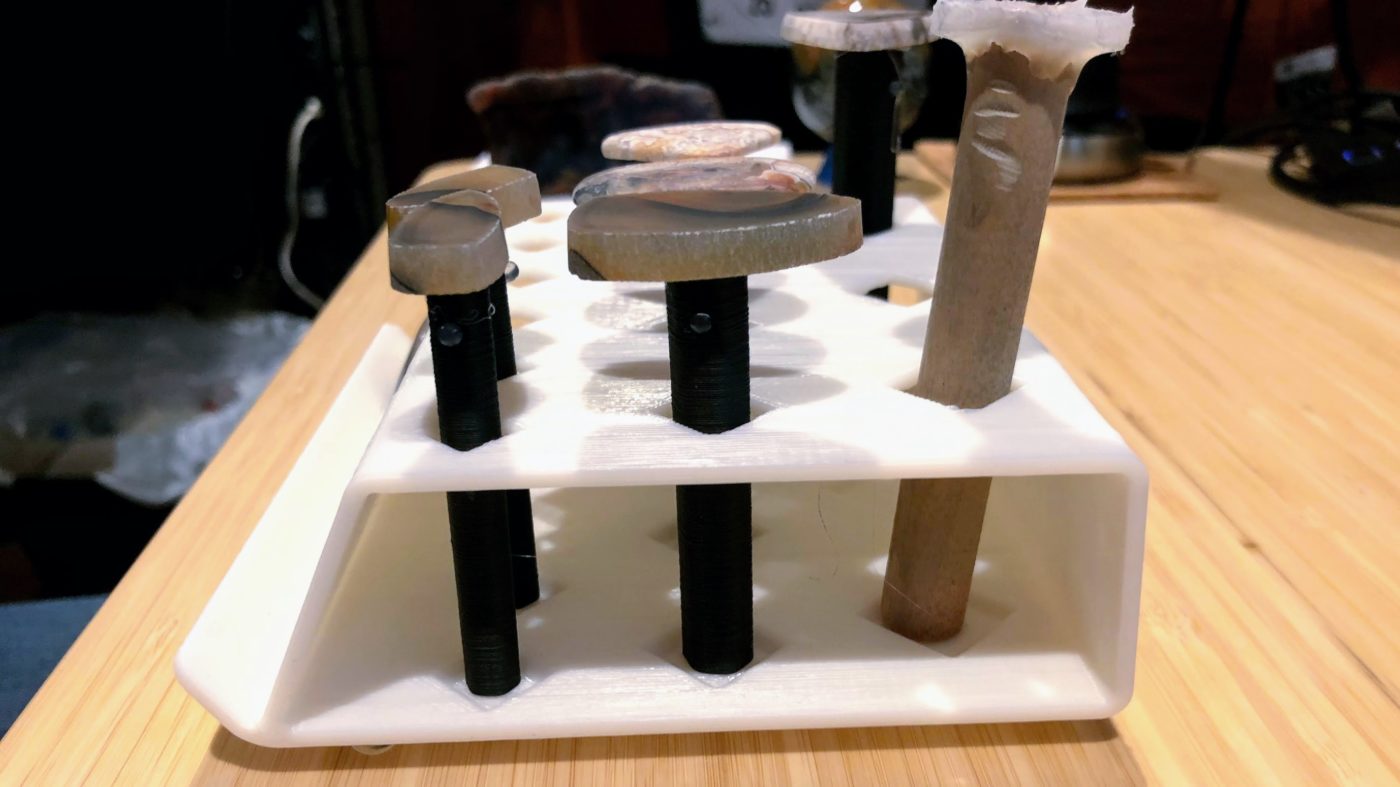
This nest holds up to 13 dopped cabs and has a front tray for finished cabs, bits of trimmed material, or works-in-progress. PLA is chosen for fast print speed, as no particular mechanical properties are needed here.
Vice Extensions and Soft Jaws
Pending…