
Product Design
How To Manage Product Assemblies in Fusion 360

Aug
I’m going to answer the top question I get from product managers and designers with whom I consult: “What’s the best way to manage product assemblies in Fusion 360?”
Update to Fusion Team
You’ll have to do it eventually, so just do it now and you’ll be set up really well to manage assemblies in Fusion 360. Set aside some time, though, and don’t do it if you have deadlines in the next few days just in case something weird happens. I had something very weird happen when I updated to Fusion Team, but Autodesk’s support team was responsive and provided immediate support.
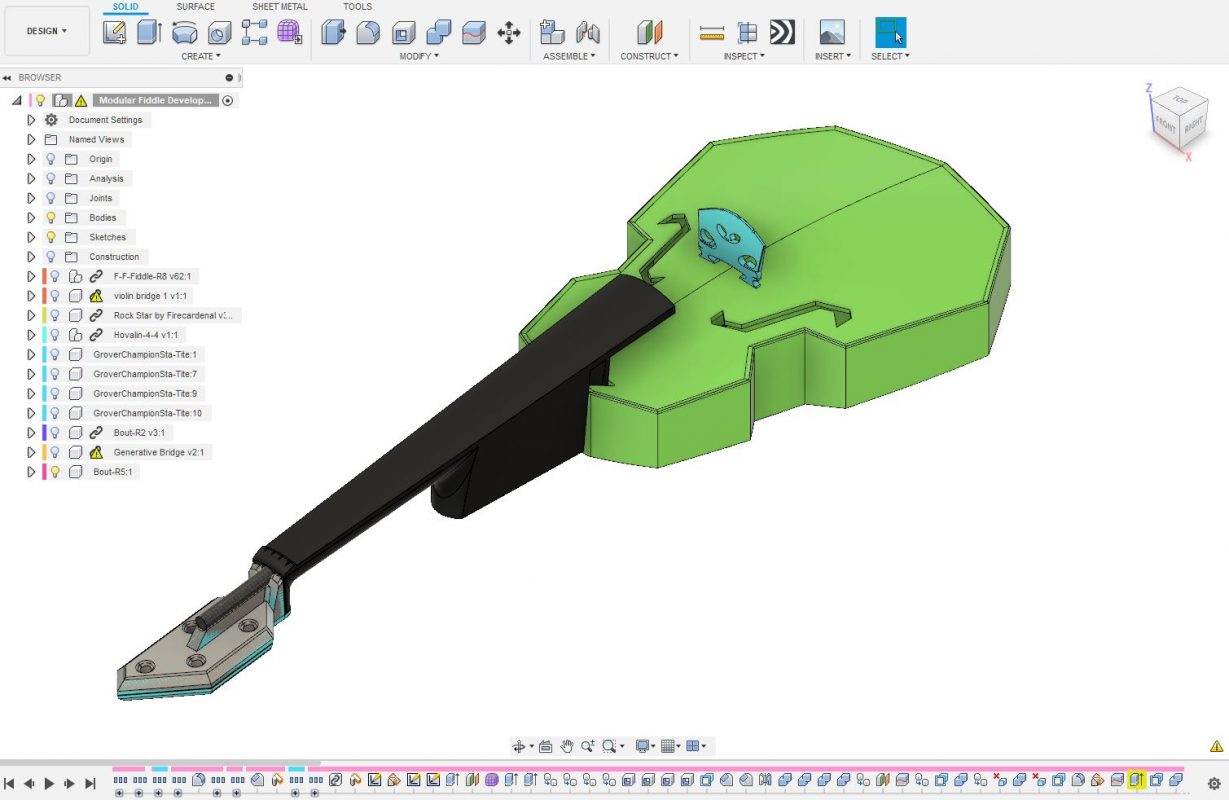
With Fusion Team you’ll be able to reference parts across projects. For my violin projects, for example, this means that I can use the same Peg design across all my violin variations, even those that I don’t wish to share publicly. Part libraries, ’nuff said. Learn more about Fusion Team here.
Accept that Everything is Designed at Least Twice
If you aren’t designing your parts from the ground up multiple times, then you are surely wasting time! Here’s the process: first, hack something out and prototype it as quickly as possible. For this first design don’t take the time to make a really clever timeline structure. Just find out if the thing works! If you’re lucky, this quick and dirty design will give you something you can use to pitch to management or investors to gain their support for the needed redesign work.
I’ll take it even further: any product worth manufacturing should be designed from the ground up three times.
After your first attempt of course you want it to look nice and work better, and your first design file is appropriately messy enough that you should just start over. Do it! After this second design, you know what you want it to look like and how it should work, but you also know how you’ll want to tweak it down the road. Time for round three: the final redesign sets up your product for seamless downstream changes, robust assembly structure, and easy design documentation.
No Design Work in Your Final Assembly
Keep your final assembly and your design work separate. Now that you’ve upgraded to Fusion Team, use milestones to properly update your assembly file only when needed.
In your final assembly file is where you export the latest versions for manufacturers, make renders, and generate documentation. In addition, exporting an archive (F3Z) will give you every bit of data you need for this project — referenced designs where you make your geometry, associated drawings, everything.
While it may seem that you should link your drawings directly to the designs in which you are doing your design work, I would generally advise against this. By linking your drawings instead to this final assembly in Fusion 360, you build in a layer of flexibility that allows you to more easily manage parts that are modified by third parties (like manufacturers).
Use Joints
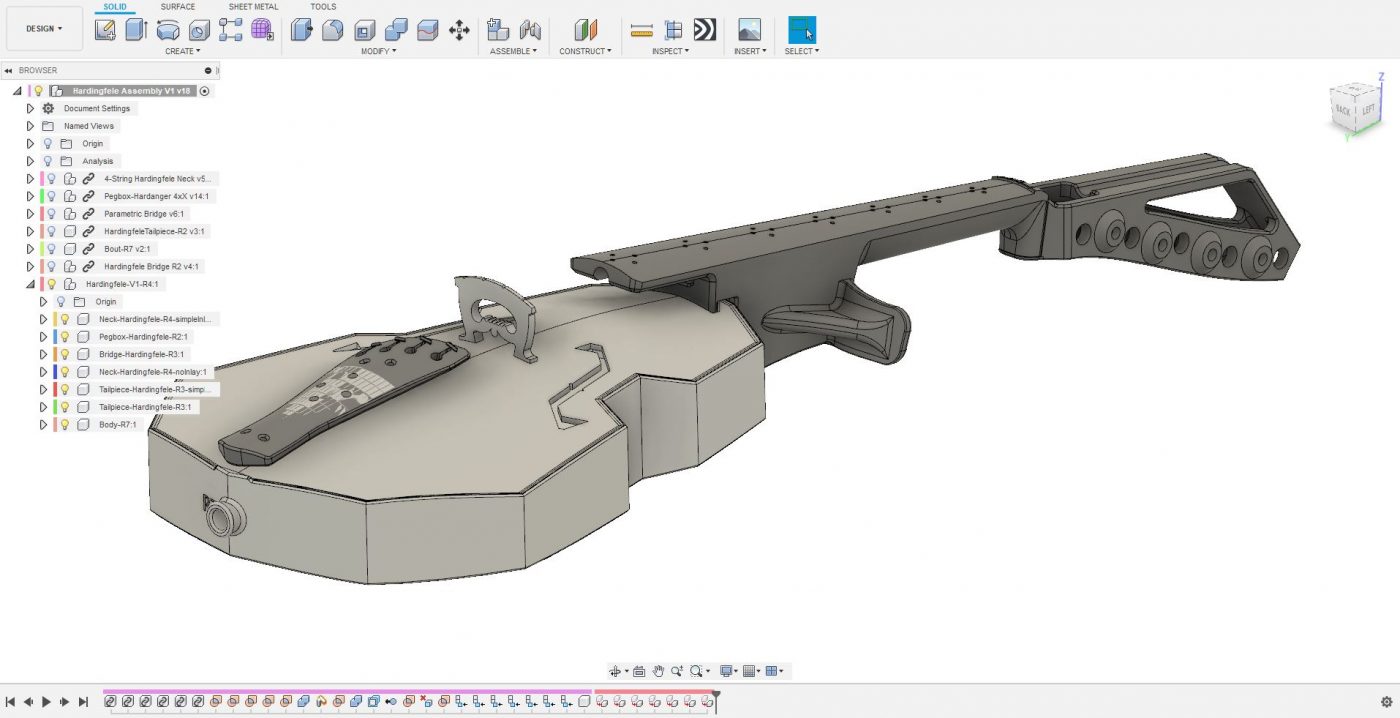
Even if your parts don’t move, use joints to secure them in place. Your assembly should mirror real life, and jointing the parts properly will help to show you hidden mistakes. In the screenshot, above, I don’t have any joints. Well, would you know that one of my neck truss rod holes was not aligned correctly?! I would have known had I used joints correctly.
Try Things and Ask For Help
In any CAD program there are many ways to do the same thing. The same is true for how you manage assemblies in Fusion 360. Adapt these recommendations as you feel best fit your situation. Much depends on your team and your manufacturers. Lastly, find an expert (like me: contact page) and get them to look at your stuff. Even for designers and teams that have an established process and structure, I can always find ways for them to work more efficiency, improve communication, or explore new ideas within their designs.